安装 Mpcium
本指南将带你在自己的环境中安装和配置 MPCIUM 节点。
前提条件
开始之前,请确保你已具备:
- 已安装 Go 1.23+:在此安装 Go
- 正在运行的 NATS 服务器
- 正在运行的 Consul 服务器
克隆并安装 Mpcium
克隆仓库
git clone https://github.com/fystack/mpcium.git
cd mpcium
构建项目
使用 Make:
make
或使用 Go:
go install ./cmd/mpcium
go install ./cmd/mpcium-cli
可用命令
mpcium:启动一个 MPCium 节点mpcium-cli:用于配置节点(peer)、身份和发起方(initiator)的 CLI 工具
运行 NATS 和 Consul(仅限开发环境)
⚠️ 此配置不安全,仅应用于开发环境。生产环境请使用配置了 TLS 证书的安全集群环境。
Docker Compose 配置
创建 docker-compose.yaml 文件:
version: "3"

services:
  nats-server:
    image: nats:latest
    container_name: nats-server
    command: -js --http_port 8222
    ports:
      - "4222:4222"
      - "8222:8222"
      - "6222:6222"
    tty: true
    restart: always

  consul:
    image: consul:1.15.4
    container_name: consul
    ports:
      - "8500:8500"
      - "8601:8600/udp"
    command: "agent -server -ui -node=server-1 -bootstrap-expect=1 -client=0.0.0.0"
    restart: always
启动服务
docker compose up -d
生成节点配置
mpcium-cli generate-peers -n 3
输出示例:
{
  "node0": "12345678-1234-1234-1234-123456789abc",
  "node1": "23456789-2345-2345-2345-23456789abcd",
  "node2": "34567890-3456-3456-3456-3456789abcde"
}
集群配置
1. 创建并更新 config.yaml
cp config.yaml.template config.yaml
编辑 config.yaml:
nats:
  url: nats://127.0.0.1:4222
consul:
  address: localhost:8500

mpc_threshold: 2
environment: development
badger_password: "your_badger_password"
event_initiator_pubkey: "your_event_initiator_pubkey"
生成强密码(推荐)
< /dev/urandom tr -dc 'A-Za-z0-9!@#$^&*()-_=+[]{}|;:,.<>?/~' | head -c 16; echo
示例:
badger_password: "F))ysJp?E]ol&I;^"
2. 将节点注册到 Consul
mpcium-cli register-peers
事件发起方配置
生成发起方
mpcium-cli generate-initiator
💡 生产环境请使用
--encrypt。
将公钥添加到 config.yaml
从 event_initiator.identity.json 中获取:
{
  "public_key": "09be5d070816aadaa1b6638cad33e819a8aed7101626f6bf1e0b427412c3408a"
}
更新 config.yaml:
event_initiator_pubkey: "09be5d070816aadaa1b6638cad33e819a8aed7101626f6bf1e0b427412c3408a"
配置节点身份
1. 创建节点文件夹
mkdir node{0..2}
for dir in node{0..2}; do cp config.yaml peers.json "$dir/"; done
2. 为每个节点生成身份
以 node0 为例:
cd node0
mpcium-cli generate-identity --node node0
💡 生产环境请使用加密:
mpcium-cli generate-identity --node node0 --encrypt
生成用于加密的强密码
< /dev/urandom tr -dc 'A-Za-z0-9!@#$^&*()-_=+[]{}|;:,.<>?/~' | head -c 16; echo
3. 将身份文件分发到所有节点
cp identity/node0_identity.json ../node1/identity/node0_identity.json
cp identity/node0_identity.json ../node2/identity/node0_identity.json
对 node1 和 node2 重复此操作。
文件夹结构示例
├── node0
│   ├── config.yaml
│   ├── identity
│   │   ├── node0_identity.json
│   │   ├── node0_private.key
│   │   ├── node1_identity.json
│   │   └── node2_identity.json
│   └── peers.json
├── node1
│   ├── config.yaml
│   ├── identity
│   │   ├── node0_identity.json
│   │   ├── node1_identity.json
│   │   ├── node1_private.key
│   │   └── node2_identity.json
│   └── peers.json
├── node2
│   ├── config.yaml
│   ├── identity
│   │   ├── node0_identity.json
│   │   ├── node1_identity.json
│   │   ├── node2_identity.json
│   │   └── node2_private.key
│   └── peers.json
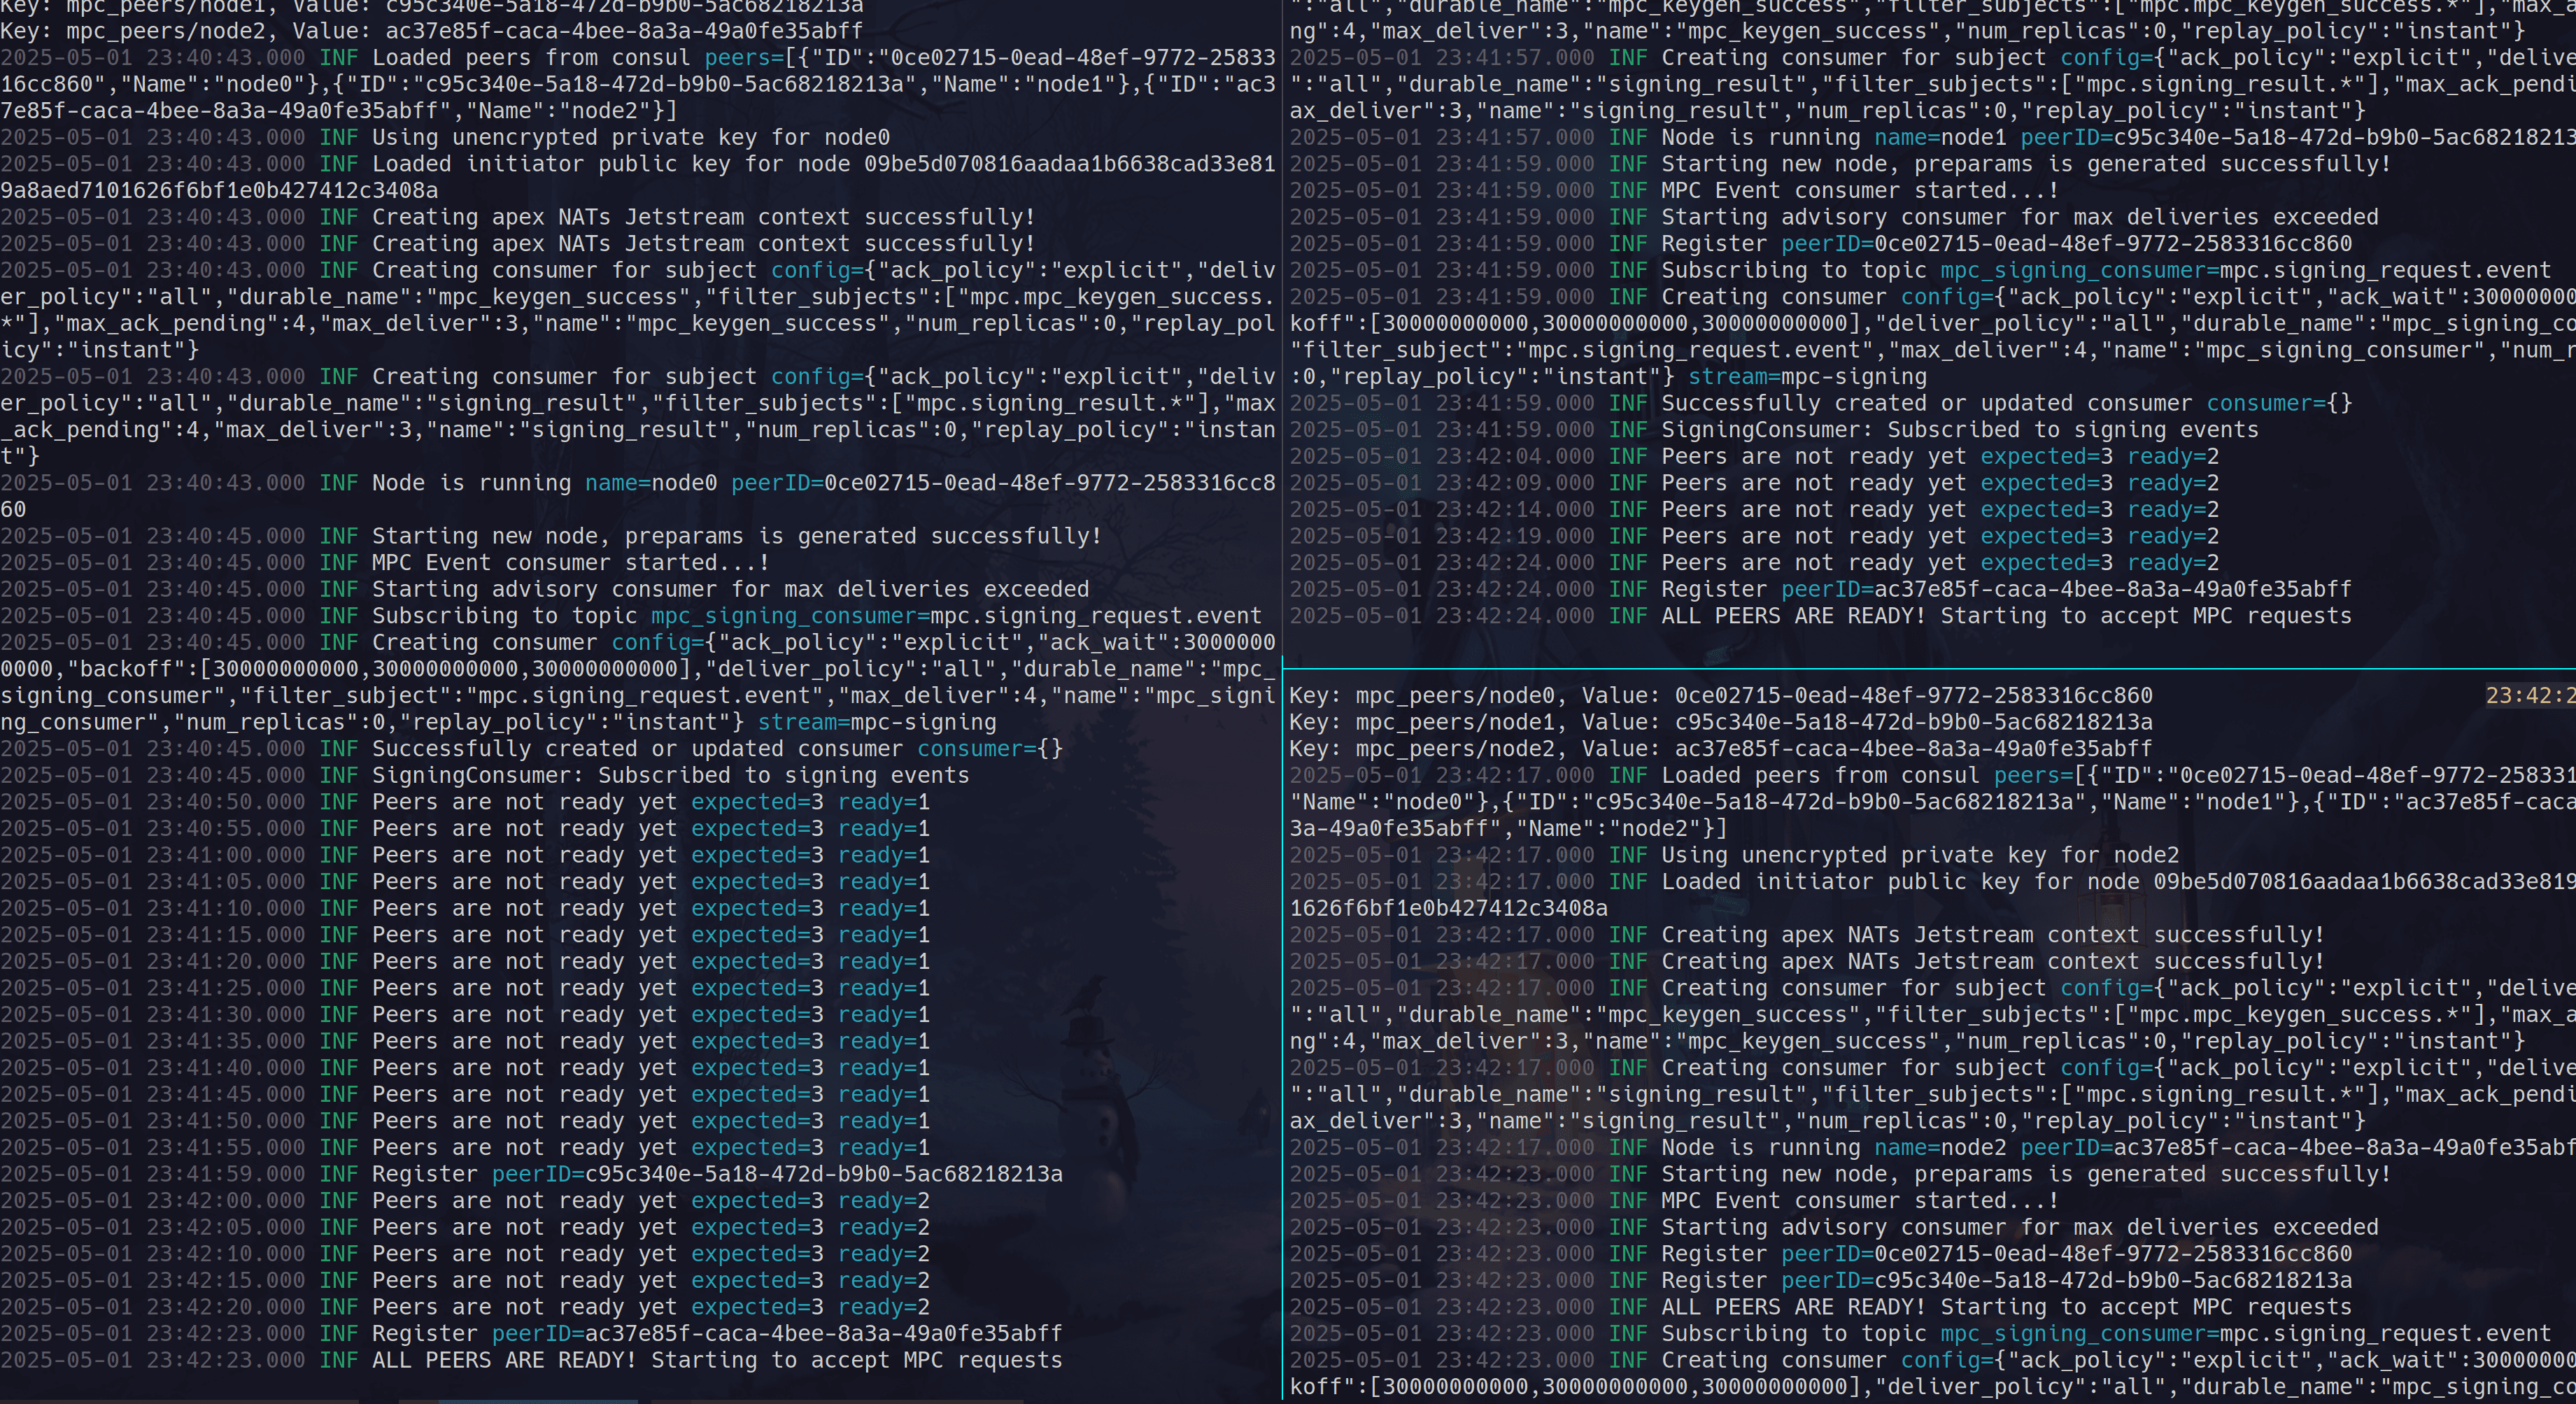
启动 Mpcium 节点
启动每个节点:
cd node0
mpcium start -n node0
cd node1
mpcium start -n node1
cd node2
mpcium start -n node2
💡 生产环境中请避免硬编码密码:
mpcium start -n node0 --prompt-credentials
生产环境部署(高安全性)
- 使用生产级的 NATS 和 Consul 集群。
- 在所有 endpoint 上启用 TLS 证书。
- 加密所有密钥:
mpcium-cli generate-initiator --encrypt mpcium-cli generate-identity --node node0 --encrypt - 使用
--prompt-credentials安全地输入 Badger 密码(避免在config.yaml中硬编码)。
附录
使用 age 解密发起方私钥
age --decrypt -o event_initiator.key event_initiator.key.age