Cài đặt Mpcium
Hướng dẫn này đưa bạn qua quy trình cài đặt và thiết lập các node MPCIUM trong môi trường của bạn.
Yêu cầu trước
Trước khi bắt đầu, hãy đảm bảo bạn đã có:
- Đã cài đặt Go 1.23+: Cài đặt Go tại đây
- Server NATS đang chạy
- Server Consul đang chạy
Clone và cài đặt Mpcium
Clone repository
git clone https://github.com/fystack/mpcium.git
cd mpcium
Build dự án
Với Make:
make
Hoặc với Go:
go install ./cmd/mpcium
go install ./cmd/mpcium-cli
Các lệnh có sẵn
mpcium: Khởi động một node MPCiummpcium-cli: Tiện ích CLI để cấu hình peer, identity và initiator
Chạy NATS và Consul (chỉ dành cho phát triển)
⚠️ Thiết lập này không an toàn và chỉ nên dùng cho mục đích phát triển. Với môi trường production, hãy dùng môi trường cụm an toàn có chứng chỉ TLS.
Cấu hình Docker Compose
Tạo file docker-compose.yaml:
version: "3"

services:
  nats-server:
    image: nats:latest
    container_name: nats-server
    command: -js --http_port 8222
    ports:
      - "4222:4222"
      - "8222:8222"
      - "6222:6222"
    tty: true
    restart: always

  consul:
    image: consul:1.15.4
    container_name: consul
    ports:
      - "8500:8500"
      - "8601:8600/udp"
    command: "agent -server -ui -node=server-1 -bootstrap-expect=1 -client=0.0.0.0"
    restart: always
Khởi động các dịch vụ
docker compose up -d
Tạo cấu hình peer
mpcium-cli generate-peers -n 3
Kết quả ví dụ:
{
  "node0": "12345678-1234-1234-1234-123456789abc",
  "node1": "23456789-2345-2345-2345-23456789abcd",
  "node2": "34567890-3456-3456-3456-3456789abcde"
}
Cấu hình cụm
1. Tạo và cập nhật config.yaml
cp config.yaml.template config.yaml
Chỉnh sửa config.yaml:
nats:
  url: nats://127.0.0.1:4222
consul:
  address: localhost:8500

mpc_threshold: 2
environment: development
badger_password: "your_badger_password"
event_initiator_pubkey: "your_event_initiator_pubkey"
Tạo mật khẩu mạnh (khuyến nghị)
< /dev/urandom tr -dc 'A-Za-z0-9!@#$^&*()-_=+[]{}|;:,.<>?/~' | head -c 16; echo
Ví dụ:
badger_password: "F))ysJp?E]ol&I;^"
2. Đăng ký peer với Consul
mpcium-cli register-peers
Thiết lập Event Initiator
Tạo initiator
mpcium-cli generate-initiator
💡 Hãy dùng
--encrypttrong môi trường production.
Thêm khóa công khai vào config.yaml
Từ event_initiator.identity.json:
{
  "public_key": "09be5d070816aadaa1b6638cad33e819a8aed7101626f6bf1e0b427412c3408a"
}
Cập nhật config.yaml:
event_initiator_pubkey: "09be5d070816aadaa1b6638cad33e819a8aed7101626f6bf1e0b427412c3408a"
Cấu hình identity cho các node
1. Tạo thư mục cho các node
mkdir node{0..2}
for dir in node{0..2}; do cp config.yaml peers.json "$dir/"; done
2. Tạo identity cho từng node
Ví dụ cho node0:
cd node0
mpcium-cli generate-identity --node node0
💡 Với môi trường production, hãy dùng mã hóa:
mpcium-cli generate-identity --node node0 --encrypt
Tạo mật khẩu mạnh để mã hóa
< /dev/urandom tr -dc 'A-Za-z0-9!@#$^&*()-_=+[]{}|;:,.<>?/~' | head -c 16; echo
3. Phân phối file identity tới tất cả các node
cp identity/node0_identity.json ../node1/identity/node0_identity.json
cp identity/node0_identity.json ../node2/identity/node0_identity.json
Lặp lại thao tác này cho node1 và node2.
Ví dụ cấu trúc thư mục
├── node0
│   ├── config.yaml
│   ├── identity
│   │   ├── node0_identity.json
│   │   ├── node0_private.key
│   │   ├── node1_identity.json
│   │   └── node2_identity.json
│   └── peers.json
├── node1
│   ├── config.yaml
│   ├── identity
│   │   ├── node0_identity.json
│   │   ├── node1_identity.json
│   │   ├── node1_private.key
│   │   └── node2_identity.json
│   └── peers.json
├── node2
│   ├── config.yaml
│   ├── identity
│   │   ├── node0_identity.json
│   │   ├── node1_identity.json
│   │   ├── node2_identity.json
│   │   └── node2_private.key
│   └── peers.json
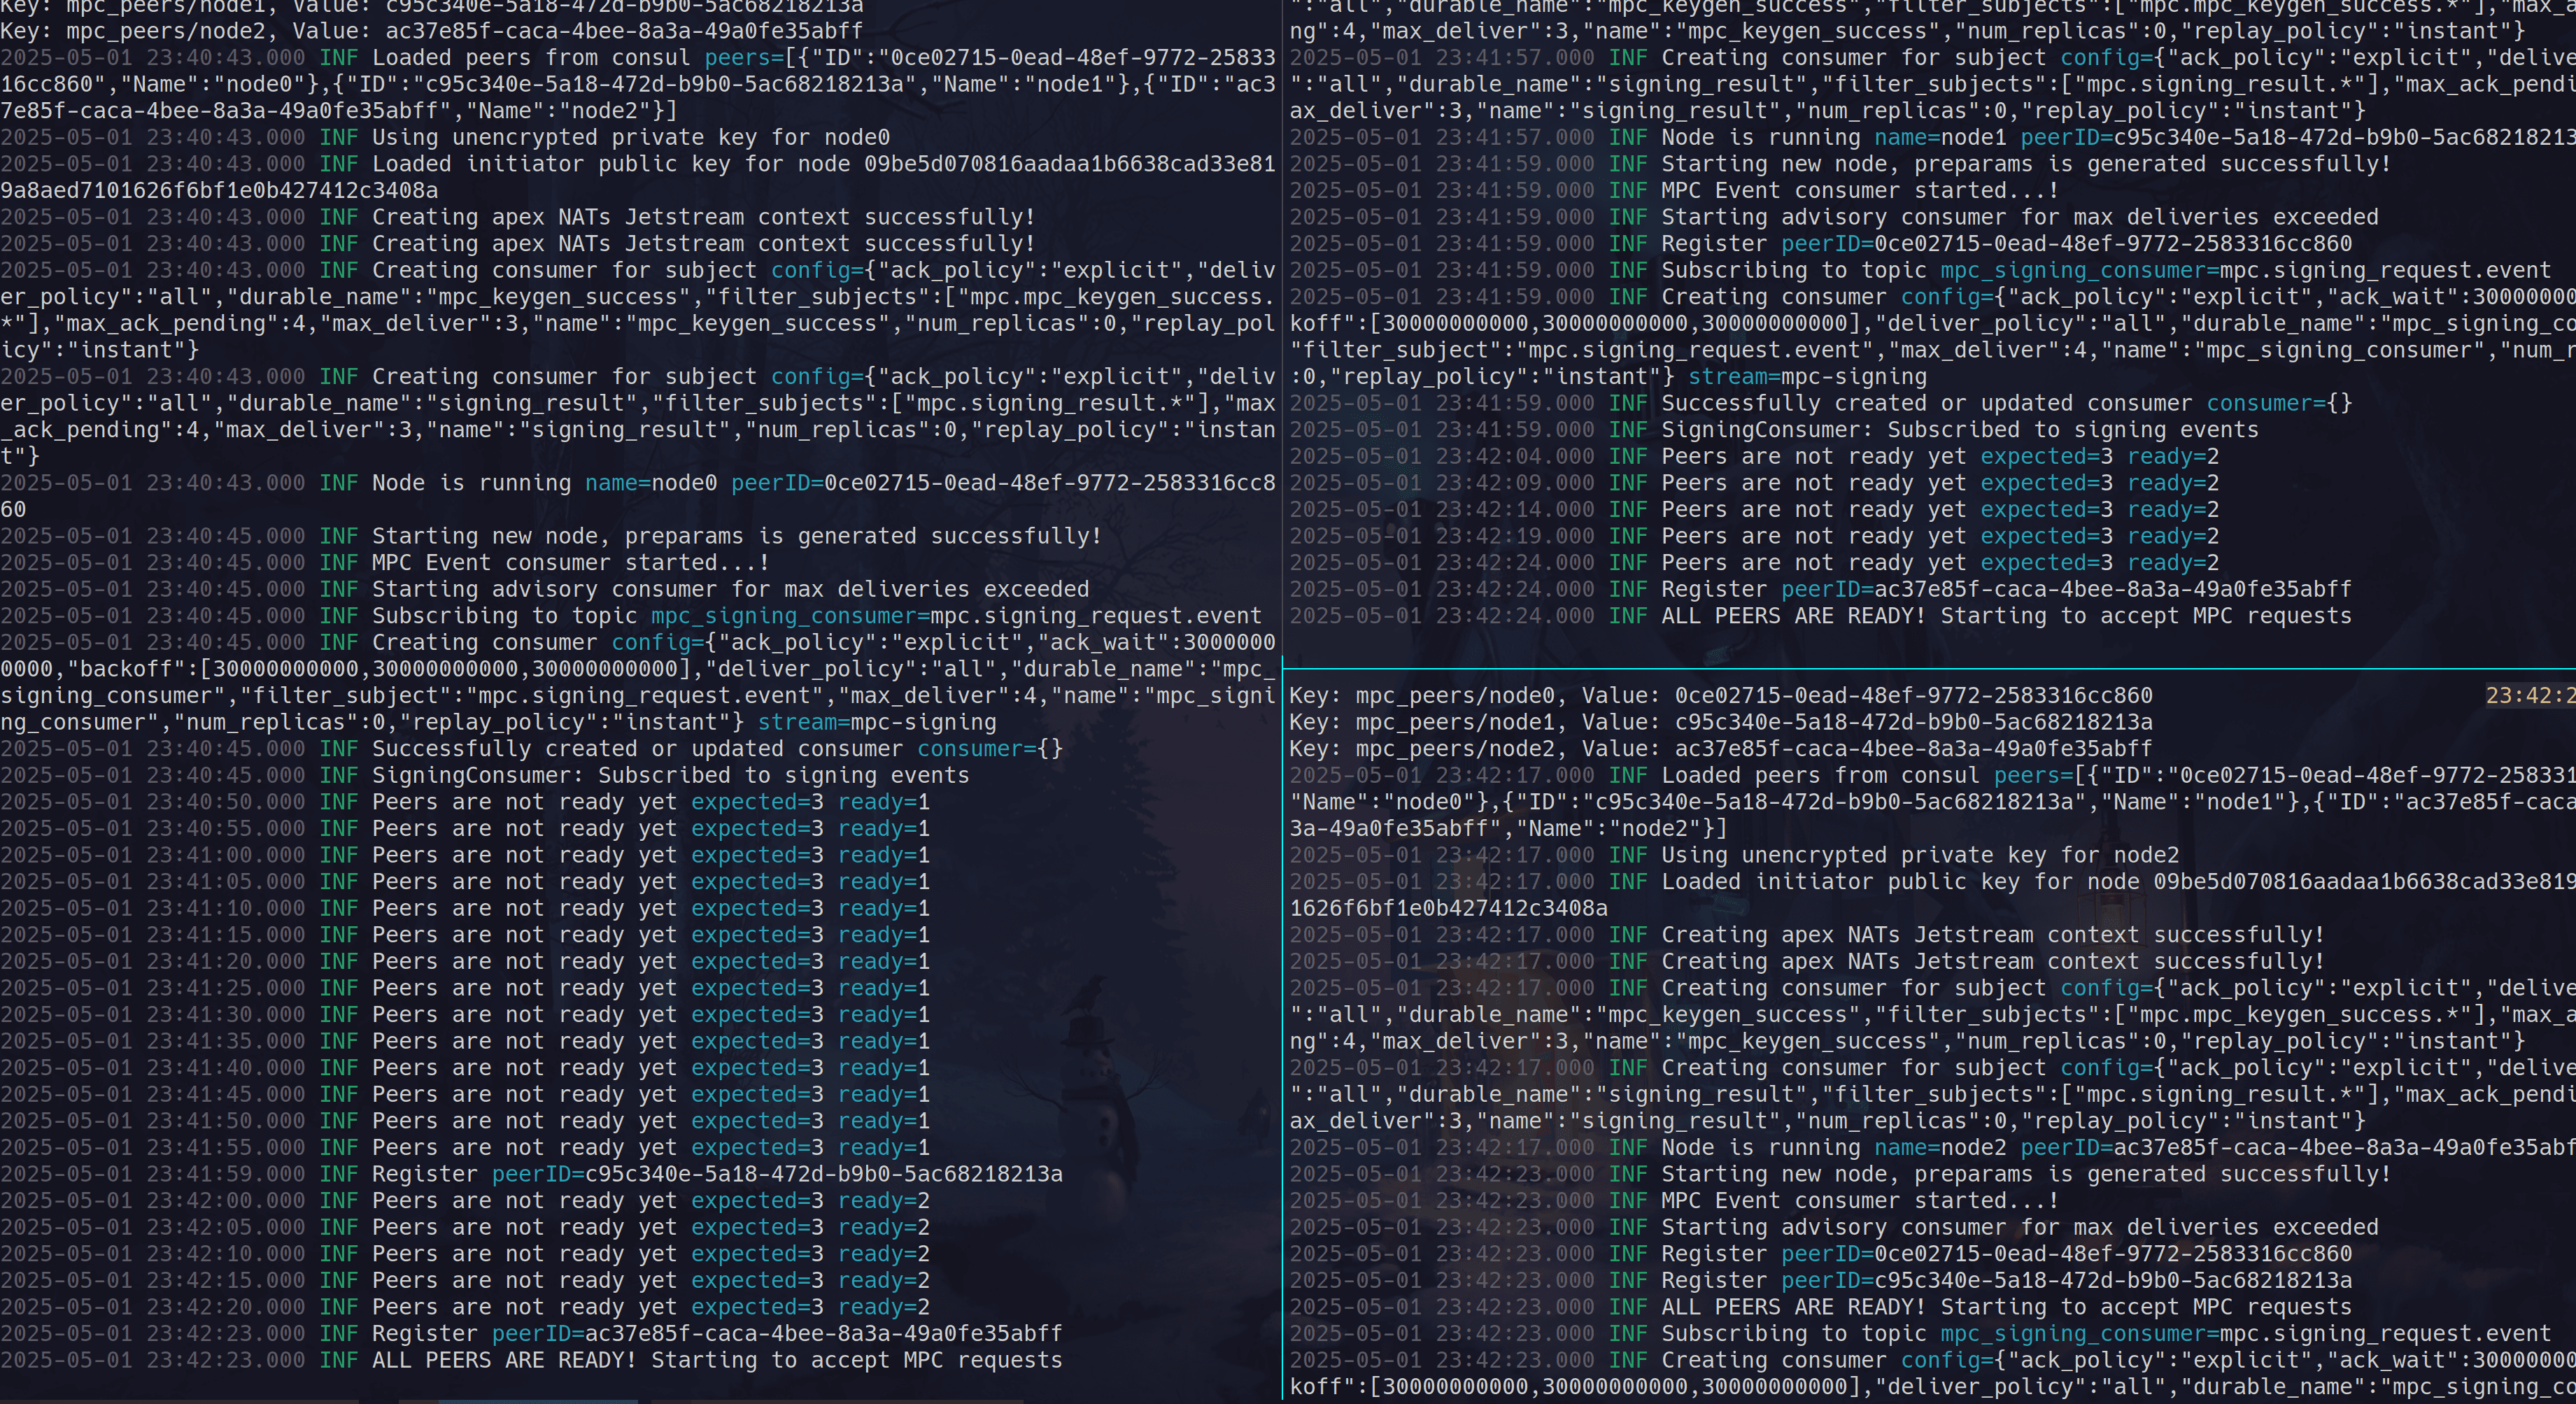
Khởi động các node Mpcium
Khởi động từng node:
cd node0
mpcium start -n node0
cd node1
mpcium start -n node1
cd node2
mpcium start -n node2
💡 Trong môi trường production, hãy tránh hardcode mật khẩu:
mpcium start -n node0 --prompt-credentials
Triển khai production (bảo mật cao)
- Sử dụng các cụm NATS và Consul đạt chuẩn production.
- Bật chứng chỉ TLS trên mọi endpoint.
- Mã hóa tất cả các khóa:
mpcium-cli generate-initiator --encrypt mpcium-cli generate-identity --node node0 --encrypt - Dùng
--prompt-credentialsđể nhập mật khẩu Badger một cách an toàn (tránh hardcode trongconfig.yaml).
Phụ lục
Giải mã khóa riêng tư của initiator bằng age
age --decrypt -o event_initiator.key event_initiator.key.age